Recently I made a short installation guide, and review on the topic – install a recessed light bulb in a garage. No matter where you have them installed, I’ll try to explain how to change recessed light bulb and what to expect when you’re changing an old bulb with a new one.
If you’re wondering – how to replace bulbs in recessed lighting, you’re in a right place. Don’t worry they’re not to complicated, recessed lights are a bit more complex than usual light bulbs are. I’m talking about lighting, not the bulb itself. Recessed lighting comes in many forms, there is recessed lighting with a standard bulb inside, and recessed lighting with LEDs that require the whole unit to be replaced.
How To Replace A Standard Recessed Light Bulb?
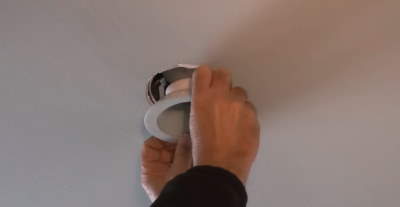
To change a recessed light bulb you need to release the bulb from recessed lighting. Mostly these cases have cover and trim that makes them look more aesthetic on the ceiling. Carefully pull the trim to release the cover, and you should be able to remove the bulb. Before doing any of this, make sure you know what kind of bulb you’re actually using. Take a look at this topic – A19 vs A21, to see the bulb difference. The bulb size and the base make the difference. You need to install the right bulb in the lighting case.
Ok, once you’ve removed the cover, unscrew the burned out bulb, and screw a new one. Check if the new bulb is working, then turn it off and re-install the cover and trim.
This guide works with a can light bulb also. This way you can easily change can the light bulb as well. Now you know how to replace a recessed light bulb with a standard bulb.
How To Replace LED Recessed Light Bulb?

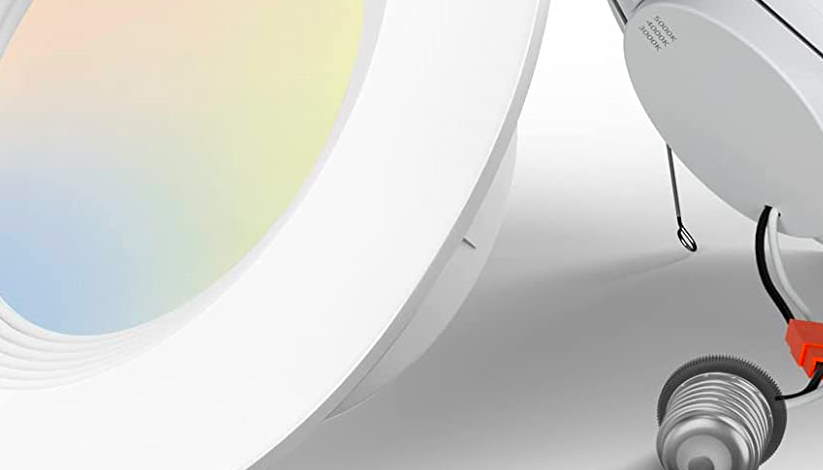
Unlike changing a standard recessed light bulb, when you need to replace the LED recessed light bulb the procedure is a bit different. Usually, LEDs are designed in a way that the whole unit comes out altogether with the LED.
Carefully pull down the trim (cover) and gently work it out of the ceiling, now release the power connector. Make sure the light is OFF when you’re working on this.
Once you’ve disconnected the cover, prepare the new one and connect it to the wire coming out of the ceiling. Install new LED light by pressing it back in the ceiling and making sure it’s flush all the way around. Now check that it works. If not, make sure you the connectors are installed correctly.
LED recessed lights are more and more popular. They are power efficient but more expensive than regular bulbs, however they last much longer usually making them cheaper in the long run. This is a topic for another occasion, where I intend to make a comparison on that. Till then, keep your bulbs in working condition and enjoy the light you’ve installed.